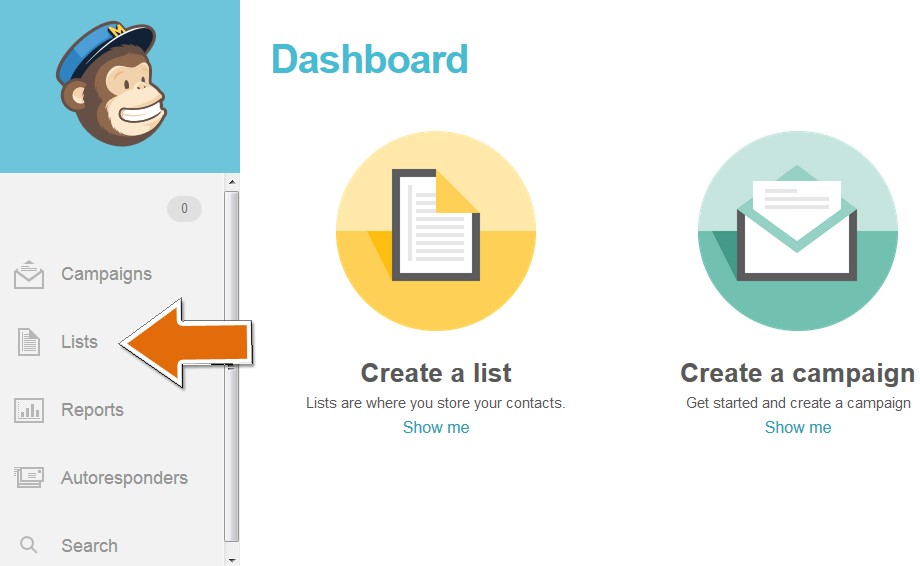
On MailChimp Dashboard go to Lists on the left side.
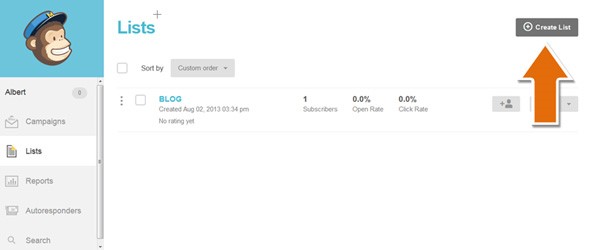
After clicking on Lists click on Create List.
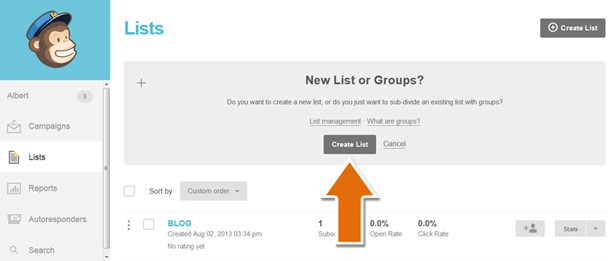
It will ask you if you want to Create List or Cancel, choose the first one.
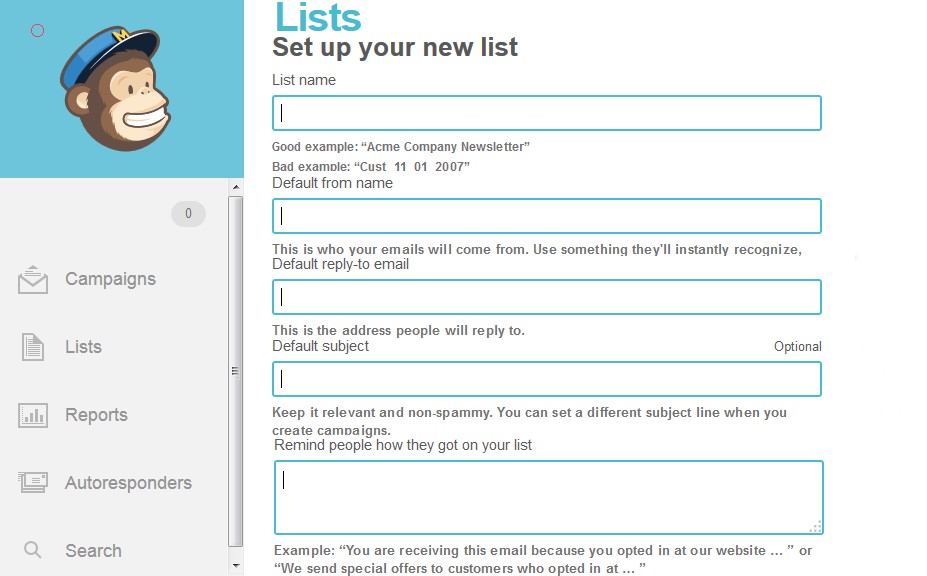
Now it will ask you to fill out a form, if you click on the title of the field it will provide you with a brief explanation.
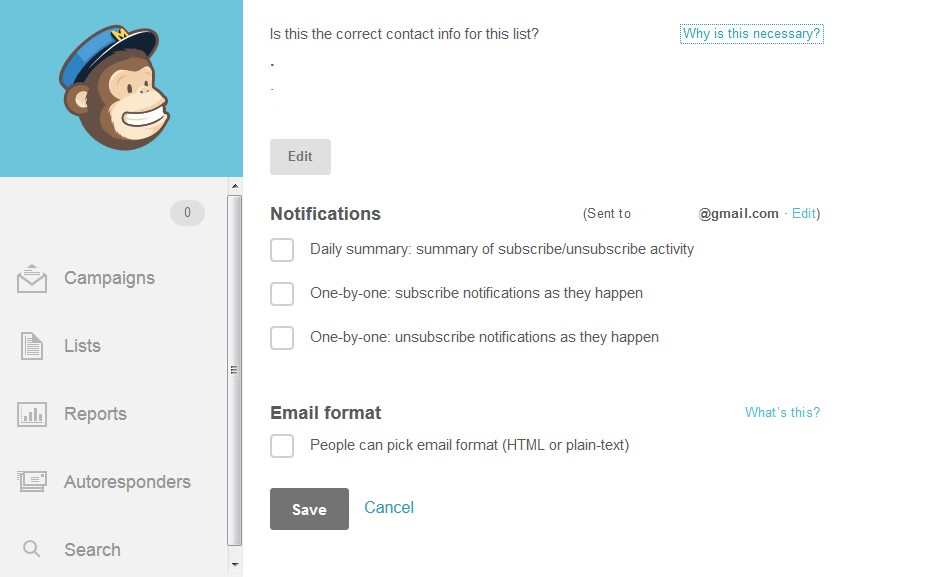
Also check the contact information on the list, how do you want to receive the notifications, and email format. When you are done click on save.
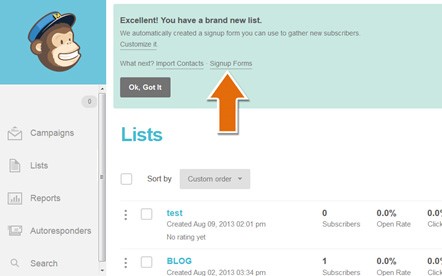
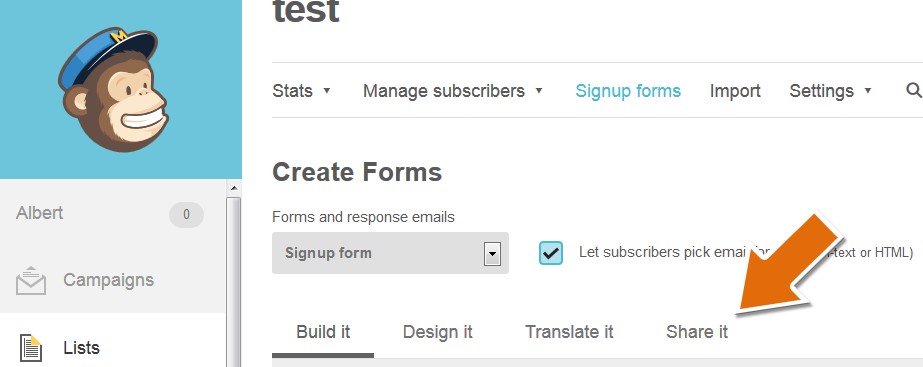
You have created a new list now you have to create the signup form, click on signup form.
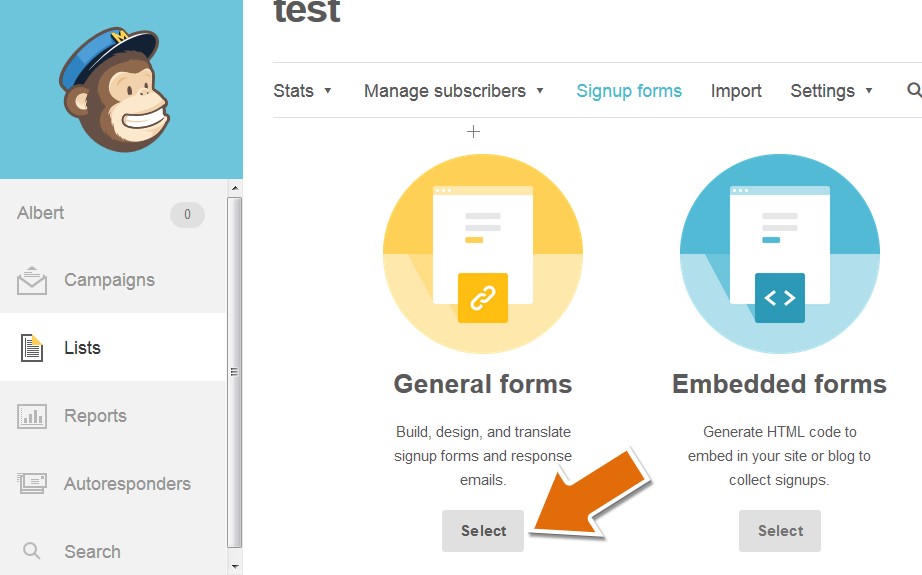
On the right under General forms click on select.
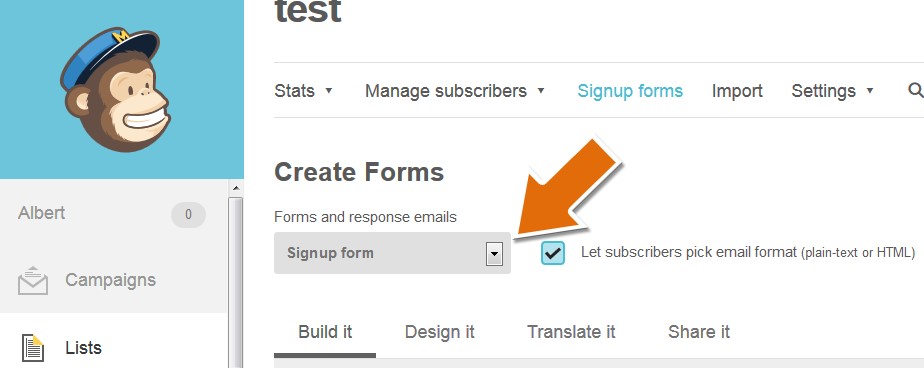
You can choose what type of form to create, signup form will work better with sweepstakes.
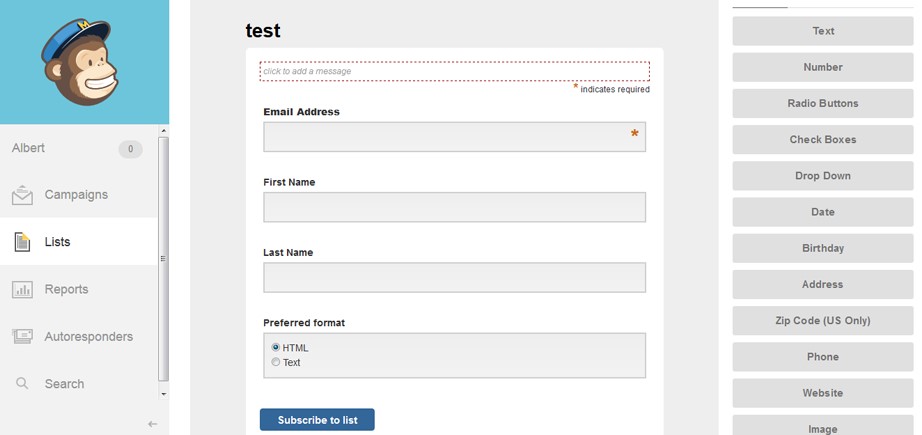
After you pick one of the forms scroll down you will get your basic fields, also you can add fields if you desire.
Now you are ready to use the form with Fan Magnet APP, all you need is the URL.
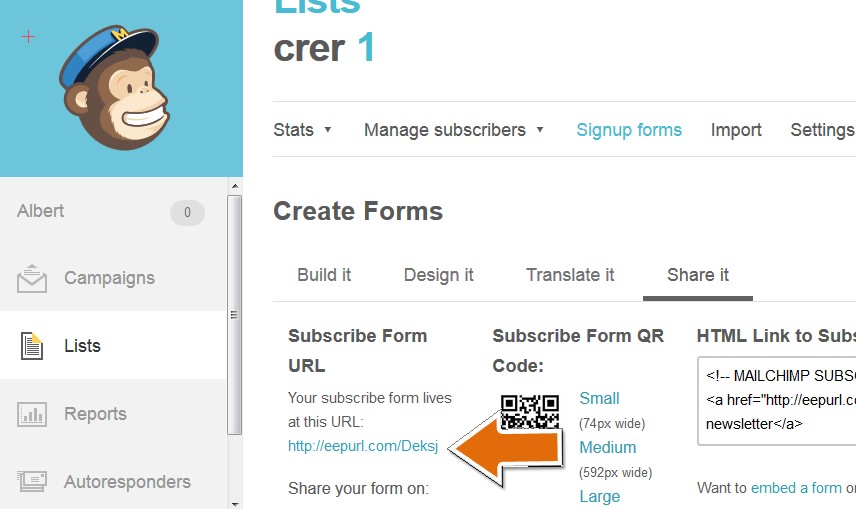
Look for Subscribe Form URL, beneath you will find a URL with blue letters, click on that URL. That´s your form’s shortened url and we need to get the full url.
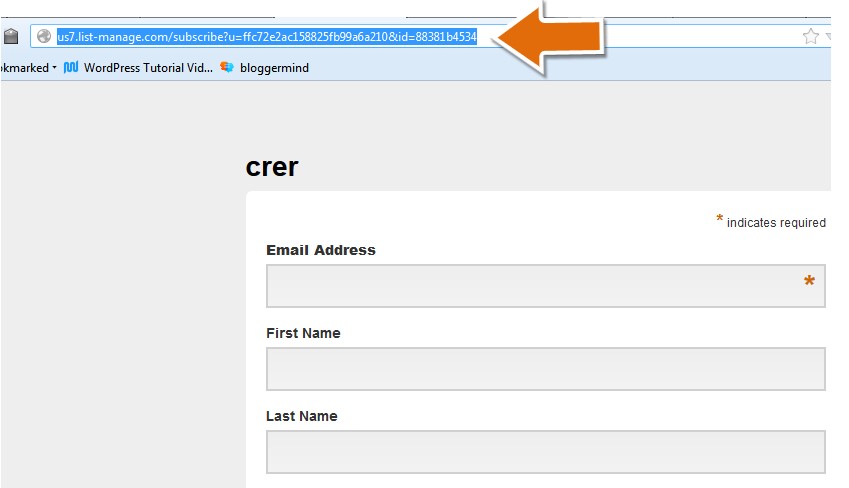
Go to your address bar, select and copy the URL.
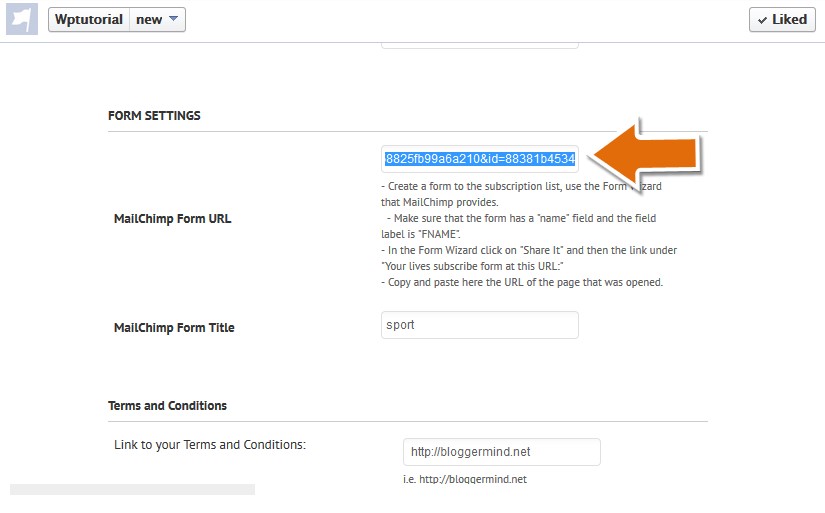
On Blog Promoter Admin Panel in facebook look for > Form Settings > MailChimp Form URL, you will find an empty box, paste the URL.
Go to the Fan Magnet App and paste the url on the “MailChimp Form URL Field”.
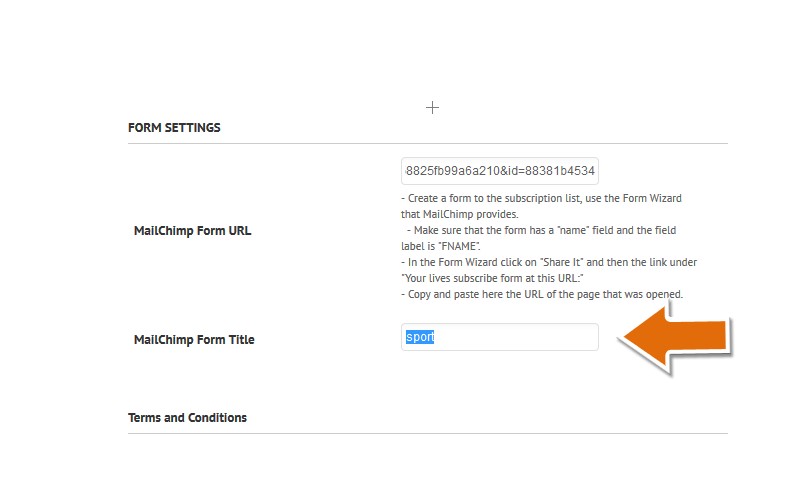
In MailChimp Form Title box you can type the name of the form that you want to be display or add some instructions as well.
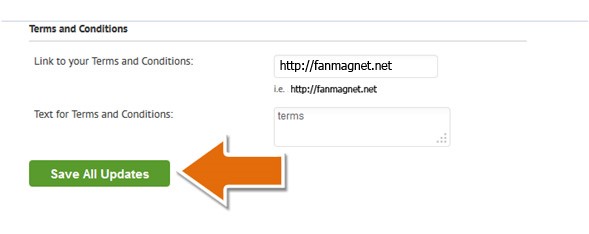
After you are done with this step just click on save all updates and you MailChimp will be integrated.
Watch this tutorial video:
SUPPORT
THANK YOU FOR USING FAN MAGNET APP, IF YOU LIKE IT LEAVE US A COMMENT AT HTTP://FB.COM/FANMAGNETAPP OR SEND US A TWEET AT HTTP://TWITTER.COM/FANMAGNETAPP
DID YOU KNOW WE CREATE WORDPRESS PLUGINS , CUSTOM APPS AND AMAZING WEBDESIGNS… CHECK US OUT AT HTTP://FANMAGNET.NET

